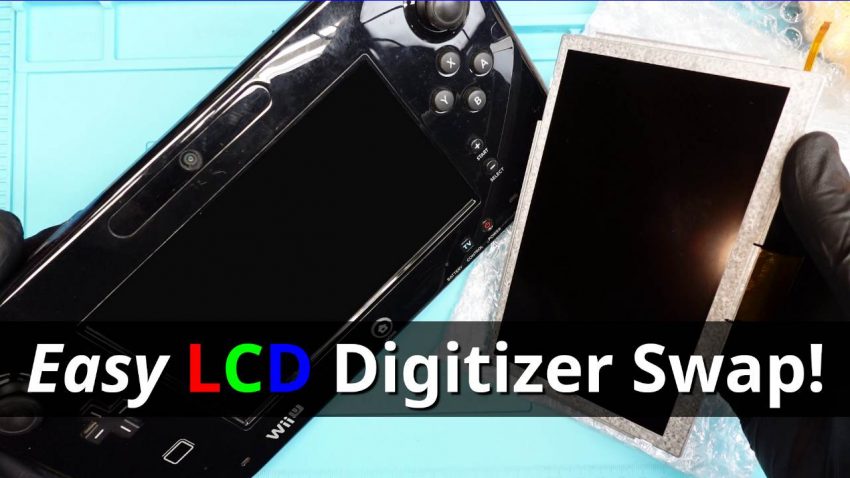
Replacing a Wii U Screen on a Gamepad doesn’t have to be hard. While I was looking at the design I noticed that the digitizer attaches to a bezel instead of the LCD.
Since the digitizer is attached to a removable bezel I took a look at how it attaches. As it turns out, it attaches with two pressure clips on each side!
So instead of removing the adhesive on the digitizer from the Wii U screen you can remove the whole bezel. With digitizers being glass removing the adhesive often leads to a broken mess of sticky glass shards. Which isn’t a fun time to cleaning up.
One thing that did trip me up a bit while taking the bezel off was a slight difference in design. While the replacement screen was clipped on the sides, top, and bottom the OEM was only clipped to the sides. And the (OEM and replacement) press fit seemed to have a different amount of pressure required to make them release.
I didn’t bother to video opening up the Wii U gamepad. You can take the Y screws off on the back, carefully pull the internal cables loose, and unscrew the mainboard with little difficulty. If you’d like me to shoot a video teardown of the Wii U gamepad leave a comment; there are a still a few to rebuild.
In the meantime, here’s a helpful iFixit repair guide with the screw locations. And check out my other game console repairs and teardowns while you’re here!


Yay! A Wii U repair in 2021! Great work keeping just a little bit more out of the landfill!