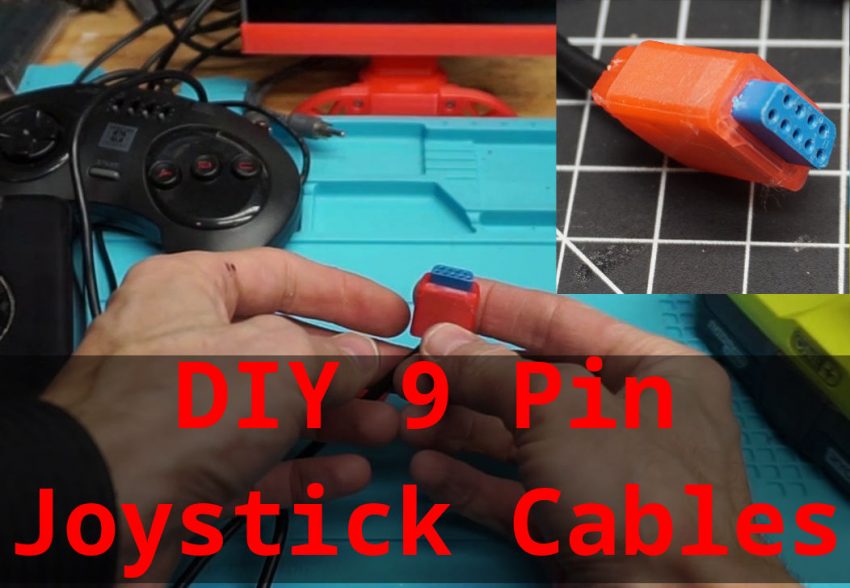
9 Pin joystick cable pigtails have been amazingly hard to find. And I need to re-cable old joysticks for the Genesis since the cheap replacements are mostly garbage. So I’ve finally resorted to making my own.
To be clear DB9 connectors are easy to source. I’ve got a stack of them here for an unrelated project. But the joystick ports are deeper; so initially I had been trying to find a pigtail with a molded end available in quantity.
And I struck out. The usual suspects didn’t have any available and I haven’t gotten to the point where I’ve started looking for a supplier in China proper.
Manufacturing my own is always an option. But I’ve decided that I don’t need that many at the moment. So I’m trying to make them in small quantity using the machining tools I have on hand.
This is my first attempt; an FDM 3D printed housing with strain relief for an existing cable. It requires a solder on DB9 female connector to sacrifice for the connection.
Fixing the Joystick
My project joystick is a Sega clone that I’ve already repaired the interior connection on. First I had to re-route the wires through the PCB for strain relief. And then I needed to clamped the cable down where it entered the joystick to prevent tearing.
But in the process of finding the fault I had to cut the cable apart. Unfortunately the cable fault ended up being further up the wire than I expected on the joystick end. But you can’t un-cut a cable.
So in the end I built a quick 9 pin cable end housing with strain relief. I’m not entirely satisfied with the results. But they’re functional enough to share.
Making a better 9 Pin Joystick Cable End
Next time I’ll use crimp on push connectors and a 9 pin connector printed on the LCD SLA printer. Because I haven’t seen any decently priced pigtail connectors available. And I’m unwilling to sacrifice joysticks just because the cable’s a bit knackered.

