UV Resin for small batch prototyping in the home shop has come down in price dramatically. Now that it’s an affordable option for making components I’m working on the Wanhao D7 printer again.
Along with the printer there are some other necessities. You need rubbing alcohol to clean the prints, plastic containers, and something to complete the UV curing process.
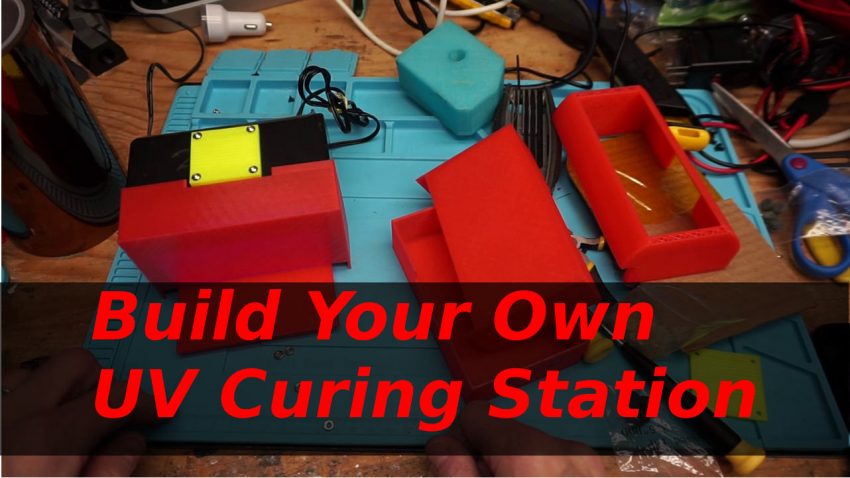
And the curing process is what I’m addressing today. Instead of dropping hundreds of dollars on a commercial curing station for my 300$ printer I’ve decided to re-use an old nail curing station picked up second-hand. We’re sacrificing this Sensationail Pro 3060 curing station for the cause.
UV Resin Curer Modifications
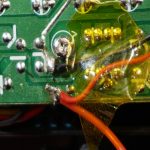
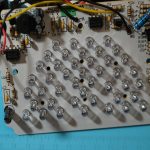
I converted the timing on the UV resin curer from dual 555 timers to a simple on-off switch. My modification simply uses a wire of sufficient gauge soldered from the switch output to the inline resistor of the LEDs.
Switching the lights to always on led to needing increased cooling so there’s now a 12v fan with an opening on top. Adding in the active cooling should increase the UV LED lights lifetime and keep everything functioning.
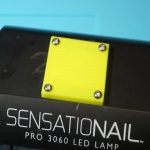
And then the fan was bleeding some light through. And you don’t want junk falling in your fan. So I modeled a slant fin fan grill to mount on top of the fan and (hopefully) prevent both problems.
That’s the electronics done.
Another issue I ran into was the actual UV light itself. Because as you’ll notice this curing station has no guard to make sure that light doesn’t fry your retinas. Which means that there’s nothing to stop the UV resin nail curing public from damaging their site. I didn’t even notice a warning on the device itself!
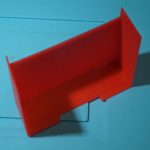
That’s not an issue you’ll face, however. The rest of the build for this conversion entailed creating a front light cover for the device with integrated tray. You can slide the tray in, put the cover on, then click on your light for however long you’d like to cure it.
You can find the 3D printer files over on Thingiverse, Prusa, and my GitHub repository. I’ve included two fan grills; one’s a short 90 degree and the others a taller 45 degree. They have holes for use with M3 bolts or imperial equivalent. The other two printable parts for the build are the front cover and fitted sliding tray.
- Thingiverse Link: https://www.thingiverse.com/thing:4212421
- GitHub Repository: https://github.com/Inhibit/3D_Designs/tree/master/UV_Resin_Curing_Station
In the future I may add a timing feature to set a shutdown time for the lights. That’ll make the unit a bit more useful and let me repeatably test out cure times for different resins. But for now it’s cheap, cheerful, and most importantly, functional!
Bill of Materials
- UV Nail Curer
- 3D Printed Parts
- Kapton Tape (or other resin resistant tape)
- 40mm 12v Fan (in this case from the scrap parts bin)

Thanks for this. My wife’s 3060 has a newer board in it, which made doing this even easier. I don’t have a fan laying around unfortunately. After 5 minutes the backside of the PCB was at around 48C. I only let it run for 5 or so minutes and then let it cool for a few minutes.
Ah, awesome. When I revisit the build to add an Atmega/Arduino and a relay switch I’ll see if I can make the fan cover parametric in OpenSCAD. That might help for re-using scavenged fans between 40mm and 60mm.