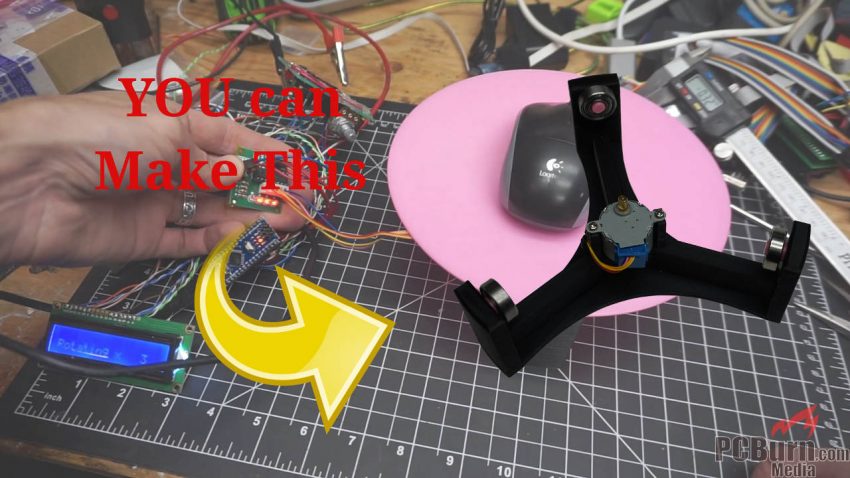
Have you ever wanted to take a video, photos, or scan an object? Do you need a motorized turntable to move the object while this is done?
Then have I got the design for you. Maybe. As it turns out an (ultra) cheap louver stepper isn’t the easiest type of motor to step (relatively) smoothly.
Recently I had need of a motorized turntable for creating the videos that I post to YouTube. Specifically I need one for the next Cheapest Filament on… video. And I decided to put up a video of the build!
The turntable is based on a previous design but has been rebuilt from scratch (both software and CAD design) using the original for an idea of dimensions and libraries to use. Since the original author was nice enough to release the design I was able to save time by looking at it. Thanks for that!
Drawbacks in the Current Design
As I mentioned in the lead in the motor has turned out to be a problem. That’s a problem that I’ll probably address by replacing it, for photo or video applications, with a RC servo motor package. I’ll be attempting to keep the same packaging and adding an adapter for the different style of motor.
And what else.. ah! I didn’t put the auto-trigger UV led on this build, yet, but it will probably get added. I’m planning on adding in a menu on startup to choose Photo/3D Scanning mode or video mode. This will preserve the original purpose of the motorized turntable and add additional functionality.
When I tested out the stepper during the build it appears to work fine. But after rebuilding the tray it appears to have some “rough spots” that I have yet to figure out. It might end up getting broken down to see if it’s an intrinsic issue, would work better if converted to bi-polar, or what exactly is happening.
So what’s in the motorized turntable…
You can find the current code and STL files in the Motorized Turntable github repository. Additionally, most of the files are available my Prusa Printing’s community repository page and Thingiverse. Be aware those may not get updated as regularly.
This build’s main components are a 1602 LCD display, an Arduino (that’s a Nano), 608 bearings, and a small number of SPST switches, resistors, and electronic components. I haven’t changed the electronic package from the build so far; it simply works.

