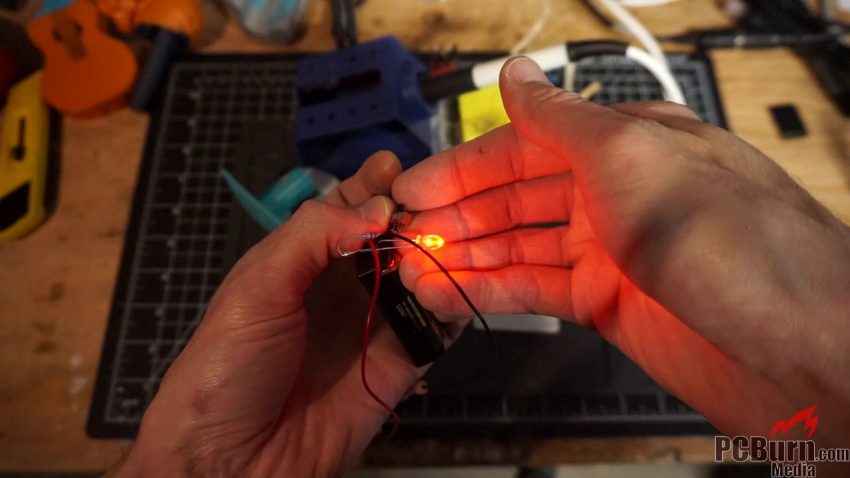
LED light circuits are a fun component to add to any build. I’m adding one to the Sega Genesis clone I recently looked at! In this video I take a look at electronic components I commonly use to make cheap DIY LED lights.
Your basic LED light circuit consists of:
- an LED
- appropriate resistor (here’s a site with math to figure that out)
- a switch (optional)
- a power source
and that’s it. The components can be crimped together, soldered, spliced, or even twisted together. Although that last one might not retain the contact very well.
Powering and Dropping your Voltage to the LED Light Circuit
For the video I’m using a nominally 3v power pack of two AA cell batteries. You could use any power source you’d like; just make sure to use appropriately rated (for the wattage) resistors for the load you’ll be putting on them. The closer the power voltage to LED forward voltage and lower the Ohm rating of the resistor the less power it’ll dissipate as heat.
But a good calculator will also include the wattage of the resistor (at minimum) you should be using. Calculated using Ohm’s Law. And it’s okay to use a resistor that can sink more (fractions of) watts than the minimum.
For instance, we want 10mA to go through our LED light circuit in the video and the voltage of the LED is 2.4v. And we’re using a 3.3v power source. The minimum wattage of our resistor is 0.009 watts. Our 1/4w resistor could easily handle quite a few of our LEDs with these parameters so one is just fine.
Where to Get Components
The parts themselves were sourced from AliExpress or EBay in bulk. They’re the same components you’d find in electronics devices and work fine for low-voltage DIY applications.
Look for SPDT switch, through hole LED (or straw hat), and 1/4w resistor of whatever value you settle on. For your battery holder you can either print on a 3D printer or get a standard spring-mount holder for two batteries like I used in the video.
Another feature you might be interested in would be a diffuser. For that I’ve designed a few that you can create with FDM 3D printing. And I’ll cover that in a future video as part of the Created at PCBurn series.
Thanks for a user on Reddit for asking about components for this circuit. It’s easy to forget that you only know what the parts are if you’ve been using them. And it gave me the impetus to write this all down quick and shoot the video in-between longer projects.

